
 Excavator
294 models
Excavator
294 models  Backhoe Loader
51 models
Backhoe Loader
51 models  Crane
68 models
Crane
68 models  Concrete Mixer
79 models
Concrete Mixer
79 models  Wheel Loader
54 models
Wheel Loader
54 models  Compactor / Roller
45 models
Compactor / Roller
45 models  Motor Grader
42 models
Motor Grader
42 models  Dozer
41 models
Dozer
41 models  Concrete Pump
66 models
Concrete Pump
66 models  Skid Steer Loader
11 models
Skid Steer Loader
11 models  Telehandler
13 models
Telehandler
13 models 


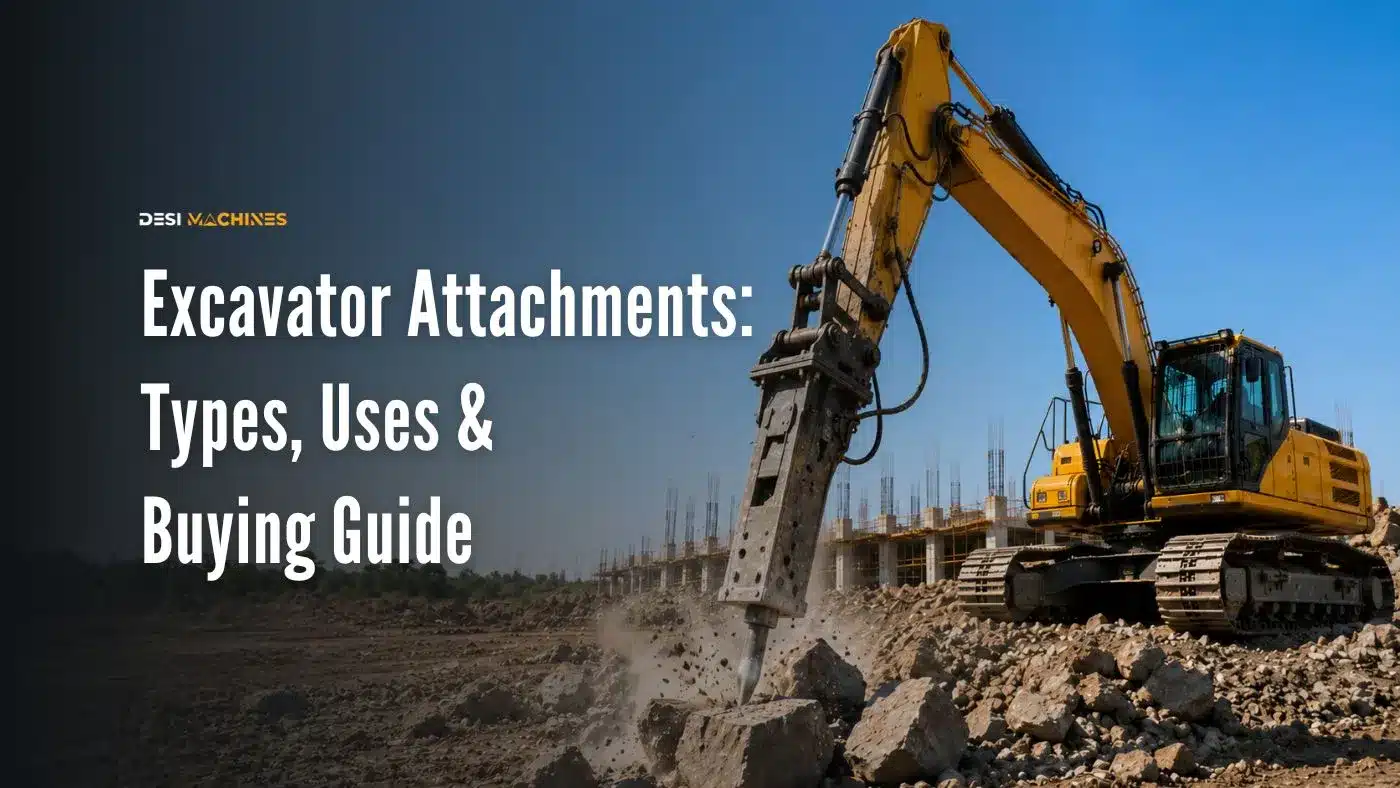
An excavator on its own is a digging machine. If you are still deciding which machine to buy, start with our guide to excavator types, parts and how they work. Bolt the right attachment onto the end of that arm and it becomes a rock breaker, a demolition tool, a drilling rig, or a material handler — the same base machine, five different jobs. For an Indian fleet owner, that versatility is where the real money is: one machine, kept busy across more of the year, instead of a specialist tool that sits idle between projects.
This guide explains the main excavator attachments used on Indian sites, what each one does, how they connect to the machine, and how to think about buying them. Every price here is indicative — attachment costs swing widely with size, brand, and whether you buy new or used.
What Are Excavator Attachments?
An excavator attachment is a tool that fits onto the end of the arm (the dipper stick) in place of, or in addition to, the standard digging bucket. The arm’s hydraulic circuit powers it. Swap the tool and you change the job the machine can do.
Attachments fall into two broad groups. Non-hydraulic tools — standard buckets, ripper tines, some grapples — just do their work through the movement of the boom and arm. Hydraulic tools — breakers, augers, hydraulic grabs, compactors — draw oil from an auxiliary line the machine feeds to the end of the arm. That auxiliary hydraulic line is the thing to check before you buy: a machine plumbed only for a bucket can’t run a breaker until the line is fitted.
How the tool connects matters as much as the tool. A direct pin-on mount bolts the attachment straight to the arm — cheapest, but changing tools means knocking out pins by hand, a slow job. A quick coupler (quick hitch) lets the operator swap attachments from the cab in a minute or two. On a machine that switches jobs through the day, a quick coupler pays back fast in saved time.
Excavator Bucket Types
The bucket is the attachment you’ll use most, and there isn’t one bucket for every job. Matching the bucket to the material is the difference between a full pass and a half-empty one.
- General purpose (GP) bucket — the all-rounder, for loose soil, sand, and general earthmoving. What most machines ship with.
- Heavy-duty (HD) / rock bucket — thicker steel, reinforced edges, tougher teeth for hard, abrasive, or rocky ground. Slower to fill, but survives material that would tear up a GP bucket.
- Ditching / grading bucket (mud bucket) — wide, flat, usually no teeth, for cleaning drains, shaping slopes, and finishing canal or road-side profiles. A tilting version angles the bucket to cut cross-falls.
- Trenching bucket — narrow, for pipe and cable trenches where you want a tight, clean cut and minimum backfill.
- Rock / skeleton bucket — slotted base that sifts fine material out and keeps the rock, useful in demolition and land-clearing.
On a smaller machine, one GP and one ditching bucket cover most work. For a full breakdown of each bucket type and how to size one to your machine, see our guide to excavator bucket types. The bigger and more specialised the project, the more it pays to carry the right bucket for the ground. Our full excavator components guide covers how the arm, boom, and bucket work together.
Hydraulic Breaker (Rock Breaker)
The hydraulic breaker — most operators just call it the hammer or rock breaker — is the most common powered attachment after the bucket. It replaces the bucket with a hydraulic percussion tool that hammers a chisel point into rock, concrete, or hard road surfaces thousands of times a minute.
Breakers are sized to the carrier. A 2–3 ton mini machine takes a small breaker for footpaths and light demolition; a 20-ton class excavator swings a large breaker that chews through boulders and mass concrete. Run a breaker that’s too big for the machine and you overheat the hydraulics and shorten the life of both; run one too small and it just bounces. Size the breaker to the excavator, not the job you wish you had.
This is where the auxiliary hydraulic line is non-negotiable — no aux line, no breaker. If your work involves regular rock excavation, road repair, or demolition, a breaker is usually the first attachment worth owning after your buckets. For sizing, popular machine-and-breaker setups, and India prices, see our hydraulic rock breaker guide. The chisel that does the actual breaking is a consumable, and choosing the right shape matters as much as the breaker: see our guide to rock breaker chisels.
Other Common Excavator Attachments
Beyond buckets and breakers, a handful of attachments turn up regularly on Indian sites:
Augers (drilling attachment)
A hydraulic auger drills clean vertical holes for foundation piles, fence posts, transmission-tower footings, and tree planting. The drill bit size sets the hole diameter. Common on infrastructure and electrification work where you’d otherwise dig each hole by hand.
Grapples and grabs
A grapple grips and moves material a bucket can’t hold cleanly — logs, scrap, demolition rubble, boulders, pipes. Hydraulic versions open and close and rotate; mechanical ones rely on the arm. Standard kit for demolition, waste handling, and land clearing.
Ripper
A single heavy tooth for tearing up compacted ground, soft rock, roots, and old road base that a bucket can’t break but doesn’t need a full breaker for. Cheap, tough, and non-hydraulic.
Compactor plate
A hydraulic plate compactor on the arm compacts trench bottoms and backfill in confined spaces the operator can reach with the excavator but a walk-behind roller cannot. Useful on pipeline and utility work. For long trenches the heavier answer is a compaction wheel, which uses the machine’s own weight through padfoot lugs instead of hydraulics. For open-ground compaction, a proper roller is the right tool — see the soil compaction guide.
Thumb
A hydraulic or mechanical thumb works against the bucket like a second finger, letting the machine pick up and hold awkward objects — rock, debris, timber — without a separate grapple. A low-cost way to add material-handling to a digging machine.
Choosing Attachments: Match the Tool to the Machine
Two rules cover most buying decisions.
First, match the attachment to the carrier weight and hydraulics. Every attachment has a carrier range — the machine sizes it’s built for. A breaker or auger rated for a 20-ton excavator will damage a 5-ton one and stall it. Check the attachment’s rated carrier weight against your machine, and confirm the machine has the auxiliary hydraulic flow the tool needs.
Second, buy for the work you actually do, not the work you might do. Buckets first — a GP and a ditching bucket earn their keep on almost any machine. A breaker next if you hit rock or do demolition. Augers, grapples, and the rest only when a project justifies them, or when they open up a line of work you can win consistently. A quick coupler is worth it the moment you’re switching between two or more tools in a day.
Attachments are a fleet-utilisation play as much as a capability one. The same logic runs through choosing the machine itself — the types of excavators guide covers matching size class to work: a machine kept working across more jobs pays for itself faster. If you’re weighing owning versus hiring for occasional attachment work, the rental vs purchase guide works through the numbers.
Do You Need to Buy the Machine and the Attachment Together?
Not always, but it’s the cleaner route. Buying the excavator and its main attachments from a dealer who knows the machine means the hydraulics, couplers, and tool sizing are matched from day one — no guesswork about flow rates or mounting.
DesiMachines lists excavators across every size class, from mini machines for tight urban and utility work to 20-ton class earthmovers for infrastructure. Pick the carrier that fits your work, then spec the attachments around it. Compare models, check indicative prices and get the best current offer on the excavator category page — and talk attachments and hydraulics through before you commit, because that’s the detail that decides whether the tool actually earns.
Apni requirement humein batao on auxiliary lines and coupler compatibility — it’s the one thing a spec sheet won’t always tell you.
Steel is a different job again: cutting beams, plate, pipe and scrap down to a transportable size is the work of an excavator metal shear, which replaces the bucket and cuts by sliding one hardened blade past another.
Scrap yards, metal recycling plants and ship recycling plots are where most of those shears end up, and the machine classes they run are listed under scrap handling equipment.
Every one of these tools hangs off the boom and arm, and the shock they make travels back through both, so match the attachment to the machine’s class. The excavator boom guide explains that pairing from the boom’s side.
If you run a 20-tonne class machine, our blog picks the five attachments that earn the most on a 20-ton excavator, with the carrier models each one suits.
Final specifications, features, and prices should always be confirmed with the official OEM or dealer.