
 Excavator
294 models
Excavator
294 models  Backhoe Loader
51 models
Backhoe Loader
51 models  Crane
68 models
Crane
68 models  Concrete Mixer
79 models
Concrete Mixer
79 models  Wheel Loader
54 models
Wheel Loader
54 models  Compactor / Roller
45 models
Compactor / Roller
45 models  Motor Grader
42 models
Motor Grader
42 models  Concrete Pump
66 models
Concrete Pump
66 models  Skid Steer Loader
11 models
Skid Steer Loader
11 models  Telehandler
13 models
Telehandler
13 models  Dozer
Dozer 


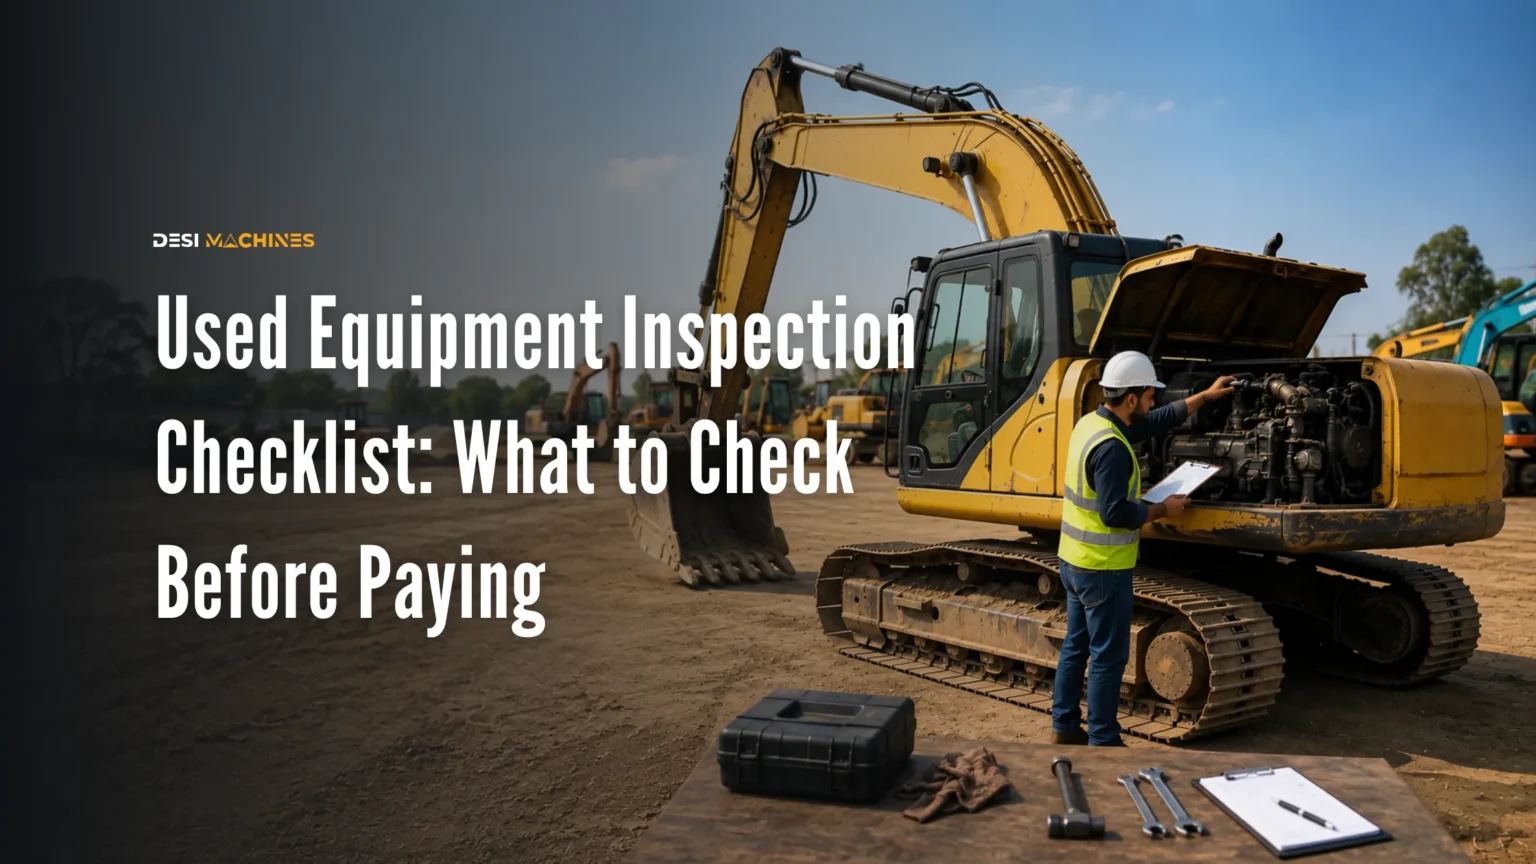
A used equipment inspection checklist is the fixed list of checks you run on a second-hand machine, in order, before any money leaves your hand. It covers eight areas: identity and papers, the hour meter and service record, the engine, the hydraulics, the undercarriage or tyres, the structure and welds, the cab and electricals, and a working test with the machine under load.
This is the long check you run once, before buying. The short routine you run every morning on a machine you already own is a different job: see the excavator daily inspection checklist.
The point of working from a list is that it does not care how likeable the seller is. You will be at his yard, he will be talking, the machine will be washed and warmed up, and you will feel rushed. A list is what stops you from skipping the one check that mattered. Print it, carry it, and tick items off in front of him — a genuine seller has no problem with that.
This page is the inspection itself. The wider sequence around it — screening sellers, agreeing a price, the paperwork and the payment — is in our guide to how to buy used construction equipment step by step.
What should be on a used equipment inspection checklist?
Eight areas, in this order. Working top to bottom matters, because the early checks can end the visit before you waste two hours on the rest.
| What you check | What you are looking for | What a fail looks like |
|---|---|---|
| Identity and papers | Chassis and engine numbers match the documents; seller is the owner named on them | Numbers filed, repunched or repainted; papers “coming later” |
| Hour meter and records | Hours consistent with wear and with the service history | Low hours on a heavily worn machine; a meter recently replaced |
| Engine (cold) | Clean start, steady idle, no water or metal in the oil | Ether spray to start, milky oil, knocking, heavy smoke after warm-up |
| Hydraulics | Full-speed movement, no drift, clean oil, dry cylinders and hoses | Boom sinks on its own, jerky movement, oil weeping down rods |
| Undercarriage or tyres | Even wear with usable life left | Sharpened sprocket teeth, loose track, cracked or mismatched tyres |
| Structure and welds | Straight boom and arm, original welds, no cracks at pin joints | Fresh paint on one section, added plates, cracks near the boom foot |
| Cab and electricals | Working gauges, lights, horn, wipers, safety cut-offs | Dead gauges, bypassed switches, taped wiring bundles |
| Working test | Full cycle under real load, watched from outside | Overheating, loss of power under load, unusual noise when hot |
Two conditions make the whole list work. Reach the yard before the machine is started, and take a mechanic or an experienced operator with you. A machine that has already been warmed up has quietly hidden its worst starting habits.
What do you check before the engine is started?
The cold checks are the honest ones, because nothing has been warmed, topped up or circulated yet. Start with the machine’s identity, then walk around it.
Identity first. Find the chassis number plate on the machine and the engine number on the block, and read them against the papers yourself. If a number looks filed, restamped or freshly painted over, stop there — a machine you cannot identify is a machine you cannot register or resell.
Then the ground. Look under the machine before anyone moves it. Fresh drips tell you what is leaking; a swept, dry patch of ground under an old machine tells you somebody cleaned up an hour ago. Both are information.
Then the fluids. Pull the engine oil dipstick and check the hydraulic oil sight glass. Oil that looks milky or creamy means water has entered. Rub a little engine oil between your fingers — grit or a metallic glitter means something inside is wearing away, and that is an engine bill, not a service.
Then the coolant. Open the radiator cap when the machine is cold and look for oil floating on the coolant, which points to a head gasket or a cracked head. Check the radiator fins for damage and packed mud, a common cause of overheating on machines that have worked in silt.
How do you check the engine on a used machine?
Start it yourself, from cold, and watch two things: how hard it works to start, and what comes out of the exhaust.
A healthy diesel engine fires within a few seconds without repeated cranking and without a shot of ether. If the seller reaches for a starting spray, the engine has low compression, a fuel-delivery problem or a tired battery and starter — and only the last one is cheap.
Once running, walk to the back and watch the exhaust for a full minute. A puff of smoke on start-up is normal. Smoke that continues after warm-up is not. Black smoke usually points to a fuel and air problem — a choked air filter, bad injectors or a machine being overworked — and the causes are set out in our guide to black smoke from an excavator exhaust. Blue smoke means the engine is burning its own oil, which is the expensive one.
Then listen. Let it idle and put your ear near the block. A steady, even beat is what you want. A knock, a tap that follows engine speed, or a rhythmic tick is worth walking away over unless the price already assumes an engine rebuild.
Last, look at the engine bay itself. Oil film over everything means a leak the seller has stopped chasing. A suspiciously spotless engine on an eight-year-old machine means it was steam-cleaned, and the usual reason for cleaning an engine before a sale is to hide where the oil was coming from.
How do you test the hydraulics?
Hydraulics are what you are really buying on an excavator, a backhoe or a crane, and they are the system sellers most often disguise. Test them warm, after the engine has run for a few minutes.
- The drift test. Raise the boom fully, curl the bucket, and hold everything still with the engine idling. Watch for two minutes. Any part that sinks on its own has worn cylinder seals or a leaking control valve.
- Full-speed cycles. Run boom, arm, bucket, swing and travel through their full range at full throttle. Movement should be smooth and quick. Jerky, slow or noisy operation means a tired pump or contaminated oil.
- Cylinder rods. Look along each polished rod for scoring, pitting or rust. A scored rod cuts its own seals again within months, so a reseal on a damaged rod is money spent twice.
- Hoses and fittings. Check for cracked outer covers, bulges, and oil weeping at the couplings. Hoses are cheap; the downtime when one bursts on site is not.
- The oil itself. Hydraulic oil should be clear. Dark, cloudy or burnt-smelling oil means heat and contamination, and both shorten pump life. Our guide to hydraulic system maintenance covers what healthy oil should look like.
A telehandler puts its risk at the boom tip: thin wear pads, a load chart plate that no longer matches the forks fitted, and fork blades past the ten percent wear limit. Each of those tests is in the used telehandler buying guide.
On a pick-and-carry crane the risk sits elsewhere — in the boom sections, the wire rope and the load chart — and those checks are in the used hydra crane buying guide.
What do you check on the undercarriage, tracks and tyres?
On a tracked machine the undercarriage is the single largest wear cost you can inherit, and it is easy to see once you know what to look at. Check the sprocket teeth first: new teeth are blunt and even, worn teeth become hooked and pointed. Then look at the track links and the idlers for uneven or stepped wear, and push the track sideways by hand to feel how much slack is there. A track that can be moved easily by one person is loose, and a loose track wears everything it touches. What each part does and how it fails is explained in our guide to the excavator undercarriage.
Ask how many hours are on the undercarriage rather than on the machine — on a machine that has had one replaced, those are different numbers, and the answer tells you whether the seller has actually maintained it.
On wheeled machines the tyres do the same job as a cost item. Check tread depth on all four, look for sidewall cracking on a machine that has stood idle, and confirm the tyres match: a mismatched set on a used wheel loader or a used backhoe loader usually means they were replaced one at a time as each one failed. Check the spare too.
How do you spot a tampered hour meter or a hidden repair?
You spot it by comparing what the machine says about itself with what it looks like. A meter is a number; wear is evidence, and the two have to agree.
The places to look:
- The operator’s seat, floor plate and joysticks. These wear with hours and cannot be reset. A worn-through seat and polished joystick grips on a machine claiming 2,000 hours is a contradiction.
- The pedals and steps. Rubber worn smooth, or a step bent from years of boots, points to heavy use.
- The meter itself. Look for scratches, mismatched screws or a panel that is newer than the dash around it. Ask directly whether the meter has ever been replaced, and get the answer in writing on the sale agreement.
- The service records. Dealer job cards carry hour readings. A record showing 6,200 hours two years ago against a meter reading 4,000 today settles the question.
Hidden repairs give themselves away the same way. Look for a patch of paint that is fresher or a slightly different shade, especially around the boom foot, the arm joints, the loader arms and the chassis rails. Run your hand along welds: factory welds are even and uniform, while a repair weld is usually thicker, rougher and sits on top of the original metal. Added steel plates over a joint mean the joint cracked once.
None of this makes a machine unbuyable. A properly repaired boom on a well-priced machine can be a fine purchase. What matters is that you find the repair before you fix the price, not after.
What should you check in the cab and the electricals?
Sit in the seat and work through every control and gauge before you move the machine. Cab and electrical faults rarely kill a deal on their own, but a machine full of them has usually been run by people who fixed nothing.
Start the machine cold rather than warmed up for you, and check whether both batteries on a 24 volt machine match; what the electrical system should look like on each machine type is in the guide to 12V and 24V machine batteries.
- Gauges live and reading — hour meter, temperature, fuel and any warning lamps that should light on key-on and then go out.
- Lights, horn, wipers and mirrors working, and the seat and its adjustment intact.
- Air conditioning or the fan, on machines meant to work full days in Indian summer heat.
- Safety cut-offs and the parking brake, tested rather than assumed.
- Wiring behind the panels: original looms are tidy and sleeved. A bundle of taped joints and loose wires is a fire risk and a fault you will chase for years.
Check that the operator’s manual and any dealer job cards come with the machine. On used self-loading mixers and other machines with electronic controls, ask whether the control panel has ever been replaced, and by whom.
What does the working test look like?
The working test is the machine doing its real job, under load, for long enough to get properly hot — twenty minutes at least. A short demonstration on a cold machine proves nothing.
Let the seller’s operator run it while you watch from outside, then, if the seller agrees, run it yourself. Dig into an actual pile or lift a real load rather than waving the boom in the air. Watch for four things: whether the machine loses power as it heats up, whether the temperature gauge climbs and stays high, whether hydraulic speed drops after fifteen minutes, and whether any new noise appears once everything is hot. Faults that hide in a cold machine come out here.
Drive it too, if it drives. On a backhoe or a wheel loader, check that it tracks straight, that the brakes hold on a slope, that the gears engage without a clunk, and that the steering does not wander. On a tracked machine, run it forward and back on both tracks: if it pulls to one side on level ground, one final drive is weaker than the other.
Before you fix a price, know what the machine costs new. Compare the current price of the models people buy most, or browse excavators and backhoe loaders to see where a fair used number should sit.
What can’t you check yourself?
Some things are beyond a visual inspection, and knowing which ones keeps you honest about what your checklist has actually proved.
Internal engine condition is the main one. A compression test or an oil sample sent for analysis will tell you what the dipstick cannot — how much metal is circulating, and whether coolant has entered the oil. On an expensive machine, both are worth paying for before the final payment, not after.
Pump and motor condition beyond obvious symptoms needs pressure testing with proper gauges. Structural cracks under paint may need a dye-penetrant check on a machine you suspect has been repaired. And the machine’s finance history is not physical at all: whether a loan is still running against it comes from the papers and the lender, which is covered in our guide to RC transfer and hypothecation removal.
Where a dealer inspection is available, it is usually the cheapest part of the whole purchase. Budget for one on any machine where a wrong call would hurt.
The inspection checklist in short
Arrive before the machine is started, with a mechanic. Match the chassis and engine numbers to the papers. Check the ground, the oils and the coolant cold. Start it yourself and watch the smoke. Run every hydraulic function and hold the boom to see if it drifts. Read the undercarriage or the tyres for real remaining life. Compare the hour meter against seat, pedal and joystick wear, and look for fresh paint and repair welds. Work through the cab controls. Then run the machine under load until it is hot, and watch what changes.
Anything that fails is not automatically a reason to walk away — it is a reason to reprice, or to ask for the repair before delivery. What you must not do is find it afterwards. Once you have a machine you are satisfied with, keep it that way by following a proper construction equipment service schedule from the first week, and read the class-specific checks in our guides to used excavators and the wider used construction equipment market in India.
On a skid steer loader in particular, the two drive sides and the chain cases sit outside this general list. The used skid steer loader checks cover them, along with the rated-capacity figure that sellers tend to overstate.
Prices, specifications and features are indicative, vary by variant, location and date, and should always be confirmed with the official OEM or authorised dealer before any purchase decision. DesiMachines is not liable for decisions taken on the basis of information that may have changed after publication.